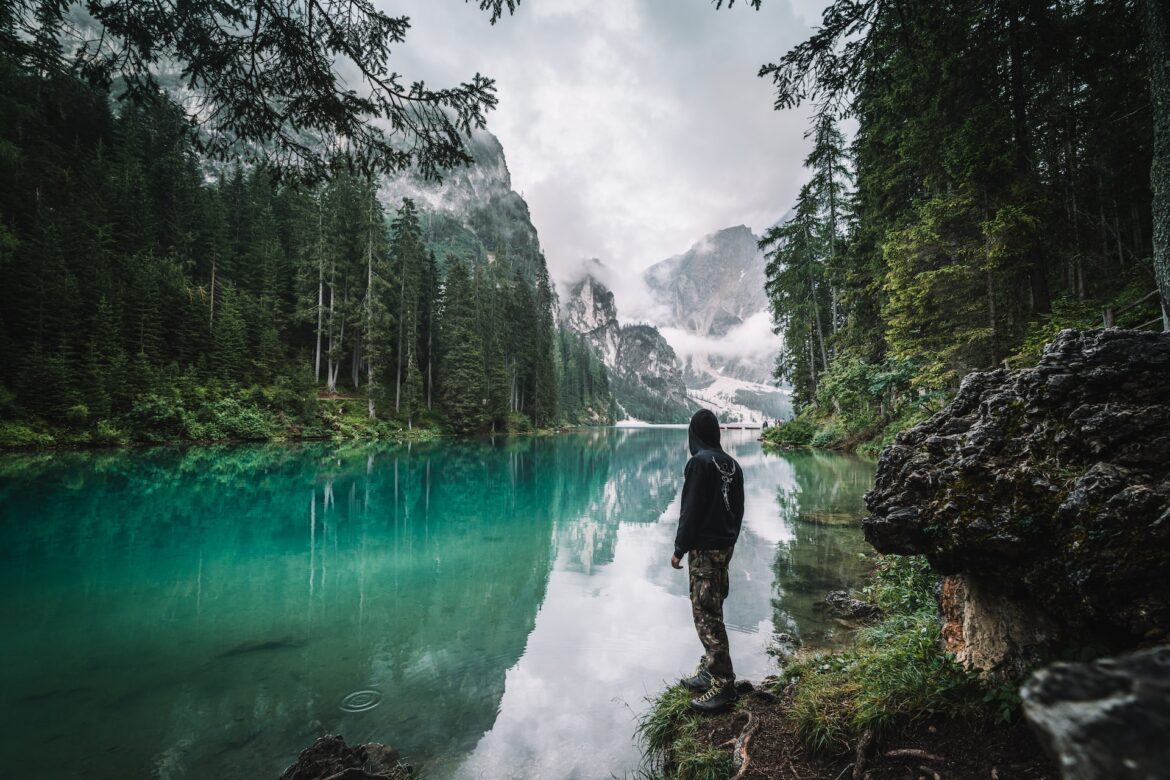
Learn more about the timing, lighting, and technical challenges of capturing beautiful vistas, dense forests, or vast deserts. Get tips from landscape photographers on the necessity of a tripod and which lenses and shutter speeds are best.
Landscape Photography Tips For Beginners
If you’ve ever wanted to take better landscape photos, you’re not alone. In an age of smartphones and digital cameras, everyone seems to want to take beautiful photographs of the natural world. But as a beginner, taking great landscape photos can be daunting. That’s why we’ve put together this guide with our top tips for getting started in landscape photography. Here we will cover everything from basic camera settings to composition techniques and more; so no matter your skill level, you’ll be able to create stunning landscape photographs with confidence.
Featured Photo by Federico Di Dio photography on Unsplash
The basics of landscape photography
One of the most important things to consider when photographing landscapes is the composition. This includes everything from the placement of the horizon to the inclusion of foreground elements. For example, a common mistake is to place the horizon in the middle of the frame. This can often result in an unbalanced and uninteresting image. Instead, try placing the horizon either towards the top or bottom of the frame, depending on what you want to emphasize in the shot. Another important thing to keep in mind is that landscape photographs often benefit from a wide angle lens. This allows you to include more of the scene in your frame and can help give your images a sense of scale.
When it comes to exposure, it’s important to remember that landscapes are often quite contrasty. This means that you’ll need to pay attention to both your highlights and shadows when setting your exposure. One way to deal with this is to use HDR (high dynamic range) photography, which involves taking multiple exposures and then combining them into one image. This can help even out the exposure and give you more leeway when it comes to processing your images later on.
Finally, don’t forget about post-processing! Even if you nail the exposure and composition in-camera, your images will likely benefit from some basic editing afterwards. This can involve anything from simple adjustments like white balance and Cropping too more advanced techniques like dodging and burning or using gradients filters. Experiment and see what works best for you!
The Right Equipment for Landscape Photography
When it comes to landscape photography, having the right equipment can make all the difference. Here are a few things to keep in mind when choosing gear for this genre:
Camera: A DSLR or mirrorless camera with at least 10 megapixels of resolution will give you the quality you need for large prints or cropping. Look for a model with good low-light performance and manual controls so you can experiment with different settings.
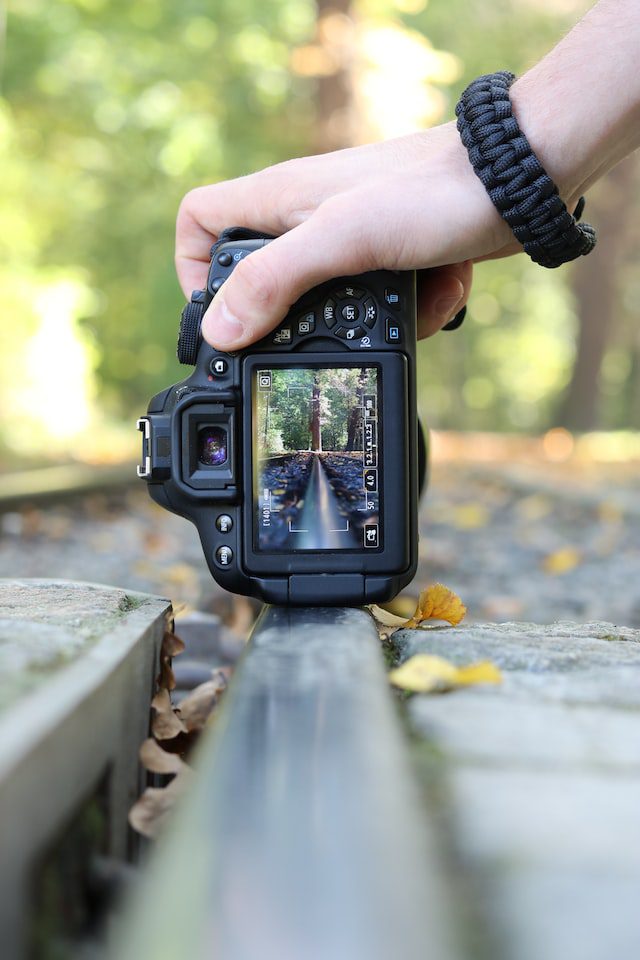
Landscape Photography Tips for Beginners – DSLR Camera – Photo by Christof W. on Unsplash
Lens: A wide-angle lens is essential for landscape photography, allowing you to capture sweeping vistas in a single frame. Prime lenses (those without zoom) are often sharper than zoom lenses, but either will work well.
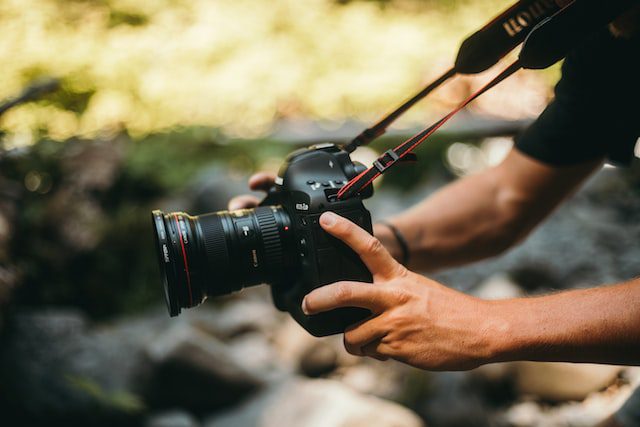
Landscape Photography Tips for Beginners – Lense – Photo by KAL VISUALS on Unsplash
Tripod: A sturdy tripod will help you keep your camera steady for long exposures and night photography. Look for one that’s lightweight but still capable of holding your camera/lens combo securely.
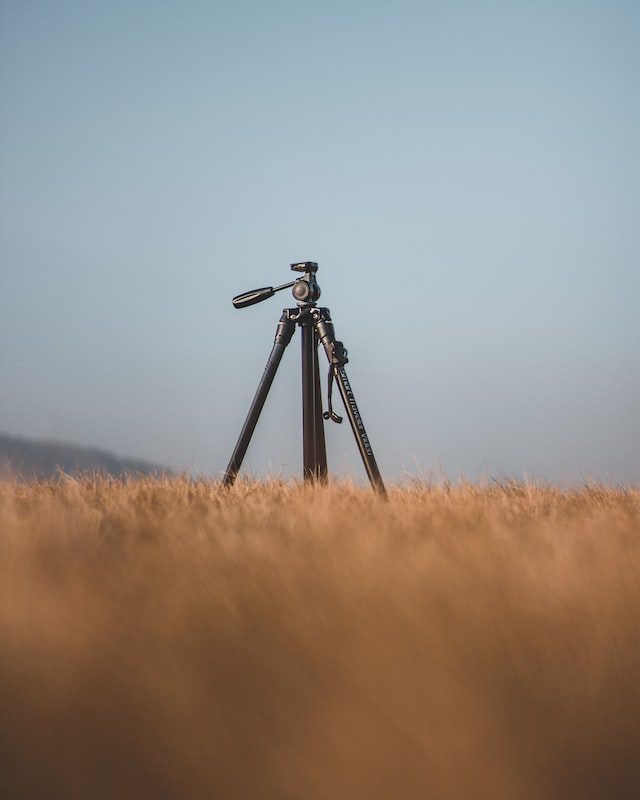
Landscape Photography Tips for Beginners – Tripod – Photo by Lukáš Vaňátko on Unsplash
Other Accessories: A remote shutter release or intervalometer will let you take long exposures without touching the camera, which can cause vibrations. A polarizing filter can help reduce glare and increase saturation. And a protective case or rain cover is always a good idea if you’ll be shooting in inclement weather conditions.
Landscape Photography Tips for Beginners: Tips for taking great landscape photos
In order to take great landscape photos, there are a few things you can do to make sure your photos turn out beautifully. First, find a good location with an interesting view. Second, use a tripod to keep your camera steady and prevent blurring. Third, use a low ISO setting to reduce noise in your photos. Fourth, use a wide aperture to capture as much light as possible and create a shallow depth of field. Fifth, use a slow shutter speed to capture movement and create dynamic effects. Sixth, edit your photos after you take them to optimize the contrast, color, and other aspects of the image.
Editing your landscape photos
Editing your landscape photos can be a daunting task, but with a few simple tips you can easily transform your photos from amateur to professional. Here are a few editing tips to get you started:
1. Start with the basics: adjust the brightness, contrast, and saturation of your photo. These three edits will make a big difference in the overall look of your photo.
2. Play around with the white balance settings to see what looks best for your particular photo. Sometimes a warmer or cooler tone can really enhance a landscape photo.
3. If there are any unwanted objects in your photo, use the clone stamp tool to remove them. This is an easy way to clean up your photos without having to start over from scratch.
4. Use gradient maps or other color adjustments to give your landscape photos a unique look. You can experiment with different color schemes until you find one that you like best.
5. Landscape photos often benefit from a little bit of sharpening. This will help bring out the details in your photo and make it look more professional.
Sharing your landscape photos
When it comes to landscape photography, one of the best things you can do is share your photos with others. Not only will this help you get feedback and constructive criticism, but it will also allow you to connect with other photographers who share your passion.
There are a few different ways you can share your landscape photos. One option is to post them on a photo sharing website or blog. This is a great way to get instant feedback from other photographers. Another option is to enter them into online competitions or submit them to online galleries. This can be a great way to get your work seen by a wider audience and potentially win some prizes.
Whatever method you choose, remember that the most important thing is to enjoy the process of taking and sharing your photos!
The Best Time of Day to Shoot Landscape Photos
When it comes to landscape photography, the best time of day to shoot is early in the morning or late in the evening, when the sun is low in the sky and casts a warm, golden light. These are known as the “golden hours.”
During the golden hours, the light is softer and more flattering, and there are fewer people and cars on the roads. The colors are also more saturated and vibrant.
If you can’t shoot during the golden hours, don’t worry! Any time of day can be beautiful for landscape photography, you just have to know how to make the most of the light you have.
The Best Camera Settings for Landscape Photography
When shooting landscapes, there are a few key camera settings that will help you capture the best possible image. First, make sure your camera is in manual mode. This will allow you to have full control over the exposure of your photo. Second, set your aperture to a low number like f/8 or f/11. This will ensure that your entire landscape is in focus. Third, set your shutter speed to a slower speed like 1/30 or 1/60. This will give you time to capture the details of the scene. Finally, increase your ISO if necessary to avoid underexposing your photo. By following these tips, you’ll be able to capture stunning landscape photos!
Composition Tips for Landscape Photography
When it comes to landscape photography, composition is key. The following tips will help you compose the perfect landscape photo:
1. Find a focal point
Every photo needs a focal point, and landscape photos are no exception. To find a good focal point, look for something that stands out from the rest of the scene. This could be a lone tree, a group of rocks, or even just a patch of colorful flowers.
2. Use leading lines
Leading lines are another important element of composition. They can help lead the viewer’s eye through the photo and towards the focal point. Look for naturally occurring lines in the landscape, such as roads, rivers, or fences.
3. Include negative space
Negative space is the empty area around the subject of your photo. Including some negative space in your landscape photos can help give them a sense of scale and make them more visually appealing.
4. Experiment with different compositions
Don’t be afraid to experiment with different compositions when you’re taking landscape photos. Move around and try different angles until you find one that you like best. And don’t forget to vary your shutter speed, aperture, and ISO to get different effects!
Post-Processing Tips for Landscape Photography
After you’ve taken your landscape photos, it’s time to start post-processing! Here are some tips to help you get the most out of your photos:
1. Use adjustment layers. Adjustment layers let you make global changes to your photo without affecting the original pixels. This is helpful if you want to experiment with different looks for your landscape photo without damaging the original image.
2. Play with white balance. The white balance settings in your camera can sometimes result in photos that look too warm or too cool. By playing with the white balance in post-processing, you can get a more accurate representation of the colors in your scene.
3. Enhance contrast and saturation. Landscape photos often benefit from an increase in contrast and saturation. This can help make colors pop and give your photo more visual interest. However, be careful not to go overboard – too much contrast and saturation can make a photo look artificial.
4. Add a vignette. A vignette is a darkening of the edges of a photo. This can help draw attention to the center of the image and make it feel more cohesive overall.
5. Dodge and burn. Dodging and burning is a technique where you selectively lighten or darken areas of your photo using an adjustment layer mask. This can be helpful for creating more depth and dimensionality in your landscape photos.
Last Shutter Thoughts
Landscape photography is a great way to capture the beauty of nature. With the right camera, lenses, and lighting equipment, you can create stunning shots that will bring your audience’s attention to the world around them. With these tips for beginners in mind, you are now ready to take beautiful landscape photographs! So grab your camera and get out there – who knows what amazing moments you’ll find waiting for you!
Did you enjoyed Landscape Photography Tips for Beginners? Please comment below your thoughts or suggestions. Don’t forget to check out other Landscape Photography articles.

