Understanding The Pros And Cons Of Manual Exposure: Should You Choose High Or Low?
Using manual exposure settings on a camera can be tricky, but it can also unlock some amazing photographic opportunities that otherwise wouldn’t be possible. In this article, we’ll explore the pros and cons of using high or low manual exposure settings so that you can make an informed decision and get the most out of your photography!
First, let’s define what manual exposure settings are. Manual exposure settings allow you to manually control how much light is allowed into the camera sensor when you take a photo. This means that you can override the automatic settings on your camera and choose exactly how much light should be entering the sensor.
The two main settings of manual exposure are high and low. High manual exposure settings will let in more light than low manual exposure settings, allowing your photos to be brighter and more detailed. Low manual exposure settings will let in less light, allowing for darker and more moody images.
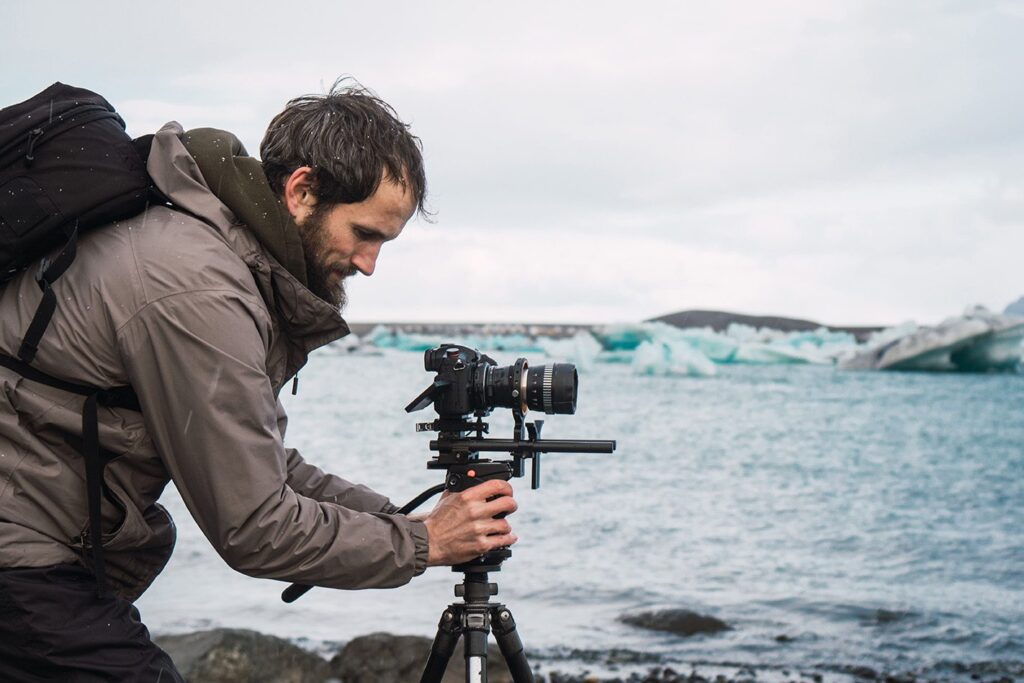
Understanding The Pros And Cons Of Manual Exposure
It’s important to understand that both high and low manual exposure have their advantages and disadvantages. In some situations, such as when shooting in low-light environments or when capturing fast-moving subjects, high manual exposure may be the only way to get a proper shot. In other situations, such as when shooting landscapes or still life photography, low manual exposure may be preferred for creating a more subtle look with fewer distractions from bright highlights or shadows.
Therefore, the decision of whether to use high or low manual exposure really comes down to personal preference based on the situation at hand. Once you’ve tried out both options and see which one works best for you. It’s up to personal taste. Beauty is in the eyes of the beholder.
Understanding The Pros And Cons Of Manual Exposure: Introduction
If you’re a photographer, understanding manual exposure is critical to getting the perfect shot. But what is manual exposure, and when should you choose a high or low setting?
In photography, exposure refers to the amount of light that hits the sensor or film. With digital cameras, you can set the exposure manually or let the camera do it for you. If you’re new to photography, it’s best to start with automatic exposure and then experiment with manual settings once you understand how they work.
Manual exposure gives you more control over the final image, but it’s important to understand the pros and cons of each setting before you make your decision. Here’s a look at the pros and cons of high and low manual exposures:
High Exposure:
-More light enters the camera, resulting in a brighter image.
-Great for poorly lit subjects or scenes with high contrast (e.g., bright sun and deep shadows).
-Can produce an overexposed image if not used carefully.
Low Exposure:
-Less light enters the camera, resulting in a darker image.
-Great for well-lit subjects or scenes with low contrast (e.g., cloudy days).
-Can produce an underexposed image if not used carefully.
By understanding the pros and cons of both high and low exposures, you can make an informed decision when shooting your next photo. We’ll also discuss the basics of exposure, including shutter speed and aperture, so that you can get the most out of manual exposure.
Understanding The Pros And Cons Of Manual Exposure:
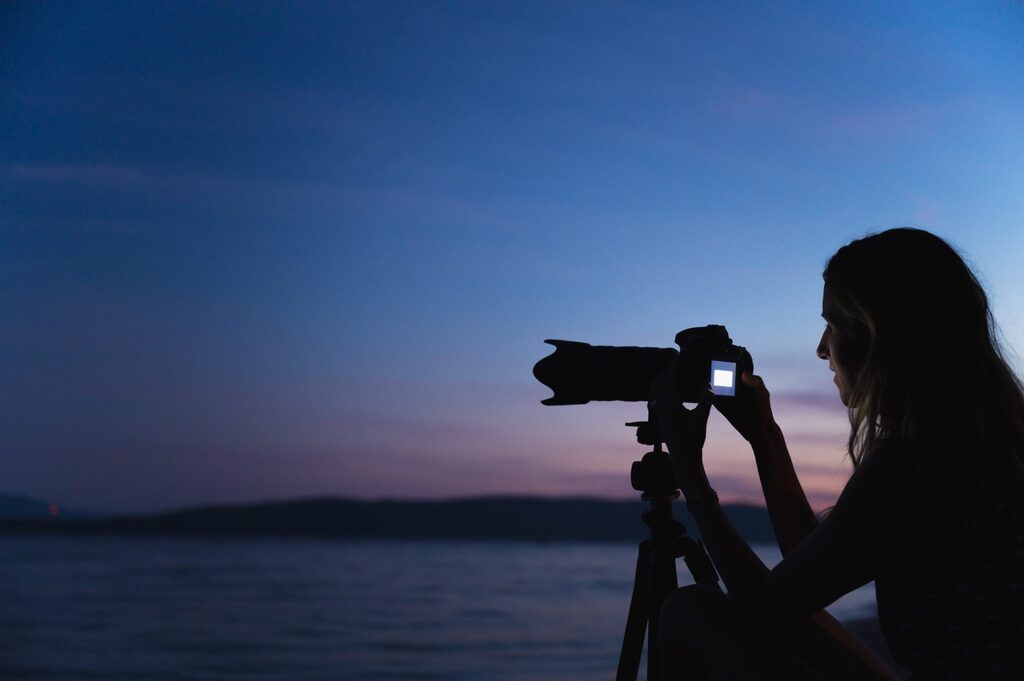
Understanding The Pros And Cons Of Manual Exposure: Manual exposure at night could be tricky. A tripod makes a big difference.
What is Manual Exposure?
Manual exposure is a camera setting that gives the photographer complete control over the amount of light that enters the camera. By adjusting the shutter speed, aperture, and ISO, the photographer can make the photo as light or dark as they want.
Manual exposure is great for photographers who want complete control over their photos. However, it can be challenging to get the perfect exposure every time. It’s important to experiment with different settings to find what works best for each situation.
Manual exposure is also great for shooting in varied lighting conditions, such as a bright sky and a dark foreground. By adjusting the settings accordingly, the photographer can achieve an even exposure across the entire image. Manual exposure is an important skill for all photographers to learn, as it allows them to truly capture the beauty of a scene.
Understanding The Pros And Cons Of Manual Exposure:
Pros Of High Manual Exposure
When it comes to manual exposure, there are two main settings that you can choose from: high and low. Both of these settings have their own pros and cons that you should take into account before making your final decision.
High manual exposure is often used in situations where there is a lot of light available, such as during daytime photography. The main advantage of using high manual exposure is that it allows you to capture more detail in your photos. This is because the camera sensor is able to gather more light when the exposure is set to high. However, one downside of using high manual exposure is that it can sometimes result in photos that are overexposed and washed out.
Low manual exposure, on the other hand, is typically used in situations where there is less light available. The advantage of using low manual exposure is that it helps to avoid overexposing your photos. However, one downside of using low manual exposure is that it can sometimes result in photos that are underexposed and lack detail.
Overall, high manual exposure is best used when you have plenty of light available, while low manual exposure should be used when there is less light available. Both settings have their own pros and cons that you should consider before making your final decision.
Understanding The Pros And Cons Of Manual Exposure:
Cons Of High Manual Exposure

Understanding The Pros And Cons Of Manual Exposure: Night Landscape in Norway LONG EXPOSURE
There are a few potential drawbacks to using high manual exposure settings on your camera. First, it can be difficult to keep the camera steady when taking long exposures, which can result in blurry or smeared images. Second, high ISO settings can create noise in your photos, which can be distracting or even spoil the shot entirely. Finally, if you’re not careful with your exposure settings, you can easily overexpose your photos, resulting in washed-out colors and lost detail.
Manual exposure settings require a great deal of practice to master, and even then mistakes can still happen. It’s best to experiment in a variety of scenarios to get the hang of manual exposure before attempting to use it for important shots.
Understanding The Pros And Cons Of Manual Exposure:
Pros Of Low Manual Exposure
Manual exposure has many benefits that can be extremely advantageous for photographers. First and foremost, manual exposure gives the photographer complete control over the camera settings. This means that the photographer can fine-tune the settings to get the perfect photo every time. Additionally, manual exposure allows for more creative freedom when it comes to photography. For example, a photographer can choose to underexpose a photo to create a moody or atmospheric effect. Conversely, a photographer can also choose to overexpose a photo to create a light and airy feel.
Another benefit of manual exposure is that it can help reduce camera shake. Camera shake often occurs when a photographer uses a high shutter speed or wide aperture setting. By using a lower shutter speed or narrower aperture, the amount of camera shake is significantly reduced. This is especially beneficial for photographers who are shooting in low light conditions or who are trying to capture fast-moving subjects.
Finally, manual exposure also provides the photographer with more accurate metering. When the camera is set to automatic exposure, it will typically use an average metering mode. This can often result in photos that are underexposed or overexposed. By switching to manual exposure and using spot metering, photographers can get much more accurate exposures, which leads to better-looking photos overall.
Understanding The Pros And Cons Of Manual Exposure:
Cons Of Low Manual Exposure
There are a few potential drawbacks to choosing low manual exposure for your photos. First, you may end up with photos that are underexposed, meaning they appear too dark. This can be especially true if you’re shooting in low light conditions. Secondly, you may have to deal with more noise in your photos, as the camera sensor will be working harder to capture a decent image. Finally, low manual exposure can make it more difficult to capture fast-moving subjects, as the shutter speed will be slower.
Overall, low manual exposure can be beneficial if you’re shooting in certain situations. But it’s important to be aware of the potential drawbacks so you can make the best decision for your photography.
5 Tips For Choosing The Right Manual Exposure Settings
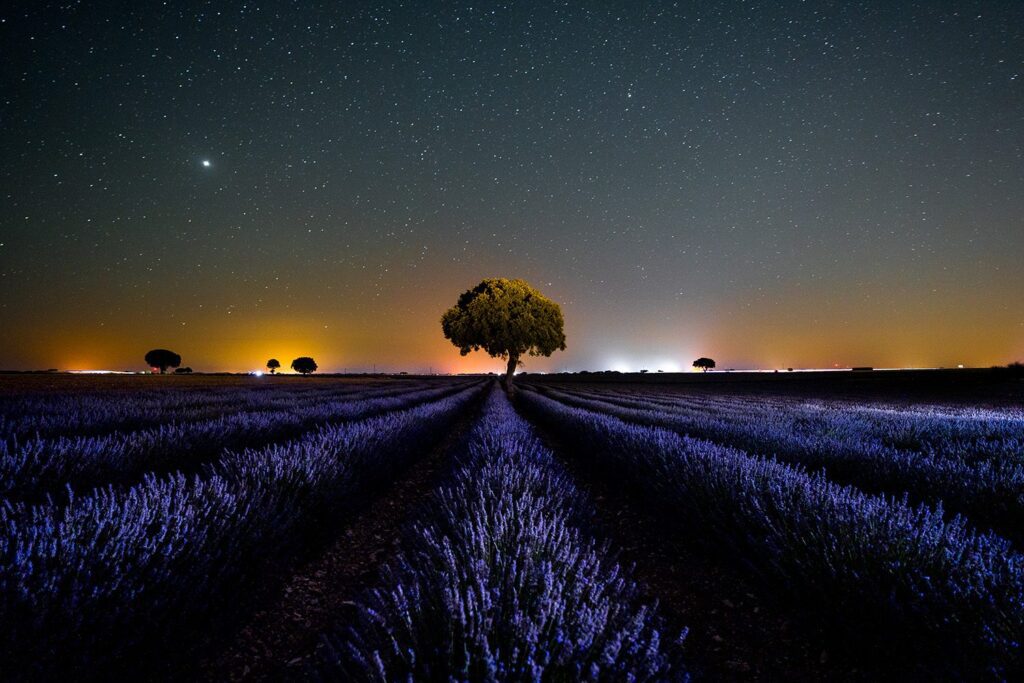
Understanding The Pros And Cons Of Manual Exposure: Milky Way Landscape
When it comes to manual exposure, there are a few things that you need to keep in mind. Here are some tips to help you choose the right setting:
1. Know your camera. This may seem like a no-brainer, but it’s important to know what your camera is capable of. Different cameras have different capabilities when it comes to exposure.
2. Consider the scene. Take a look at the scene and decide what kind of exposure you want. Do you want a high key image or a low key image?
3. Set your aperture. The aperture is one of the most important settings when it comes to manual exposure. Make sure that you set it correctly according to the scene and the desired effect.
4. Set your shutter speed. The shutter speed is another important setting when it comes to manual exposure. Again, make sure that you set it correctly according to the scene and the desired effect.
5. Experiment! Don’t be afraid to experiment with different settings until you find something that works for you.
By following these tips, you should be able to choose the right manual exposure setting for any scene.
Last Shutter Thoughts
Understanding the pros and cons of manual exposure is a great way to take control of your photography and get creative with the images you create. Whether you choose high or low depends on your personal preference, but knowing how each option can affect your photos can help you make an informed decision. Experimenting with different levels of manual exposure will give you a better understanding of how settings like aperture, shutter speed, and ISO work together to create the perfect image.
Ultimately, manual exposure gives you the freedom to explore your photographic creativity and create unique images. With practice, you’ll be able to use manual exposure to produce stunning photos that capture the perfect moment. Don’t be afraid of making mistakes — they can often lead to unexpected and beautiful results! Understanding how manual exposure works is an essential skill for any photographer, whether amateur or professional.
We recommend two articles to help you with your manual exposure skills:
Article One – How to Get Started in Photography: The Basics.
Article Two – The Real Reason You Should Be Using Manual Mode.
So what are your thoughts on this blog post – understanding the pros and cons of manual exposure? Suggestions are more than welcome. Please leave your comments below.

