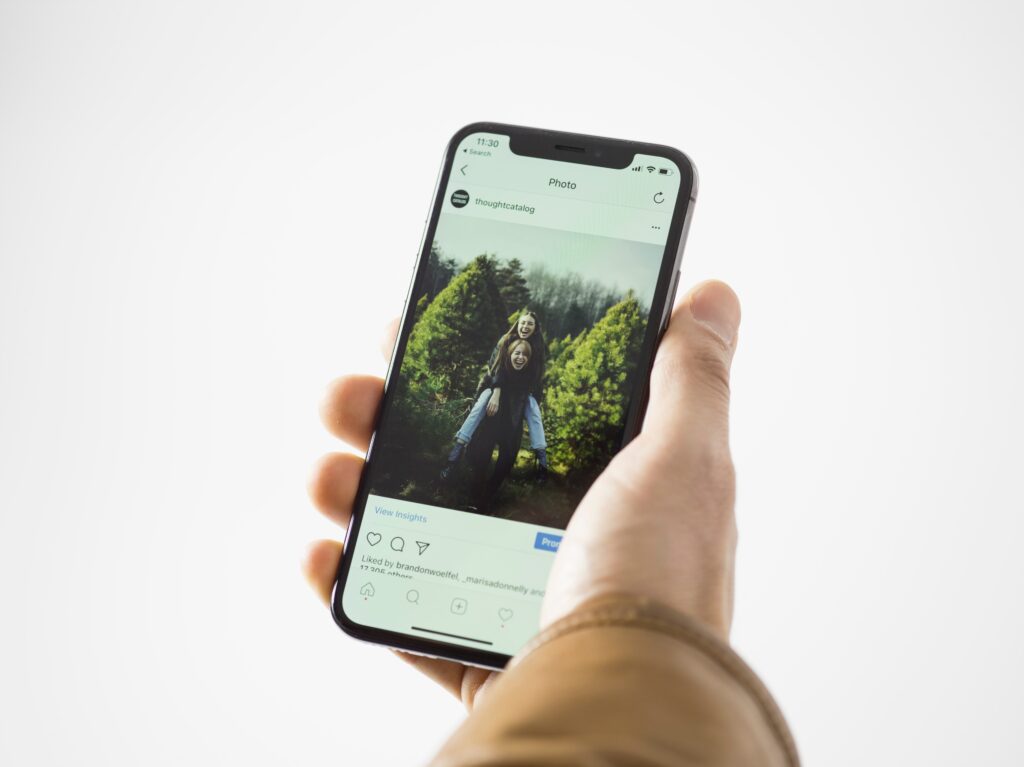
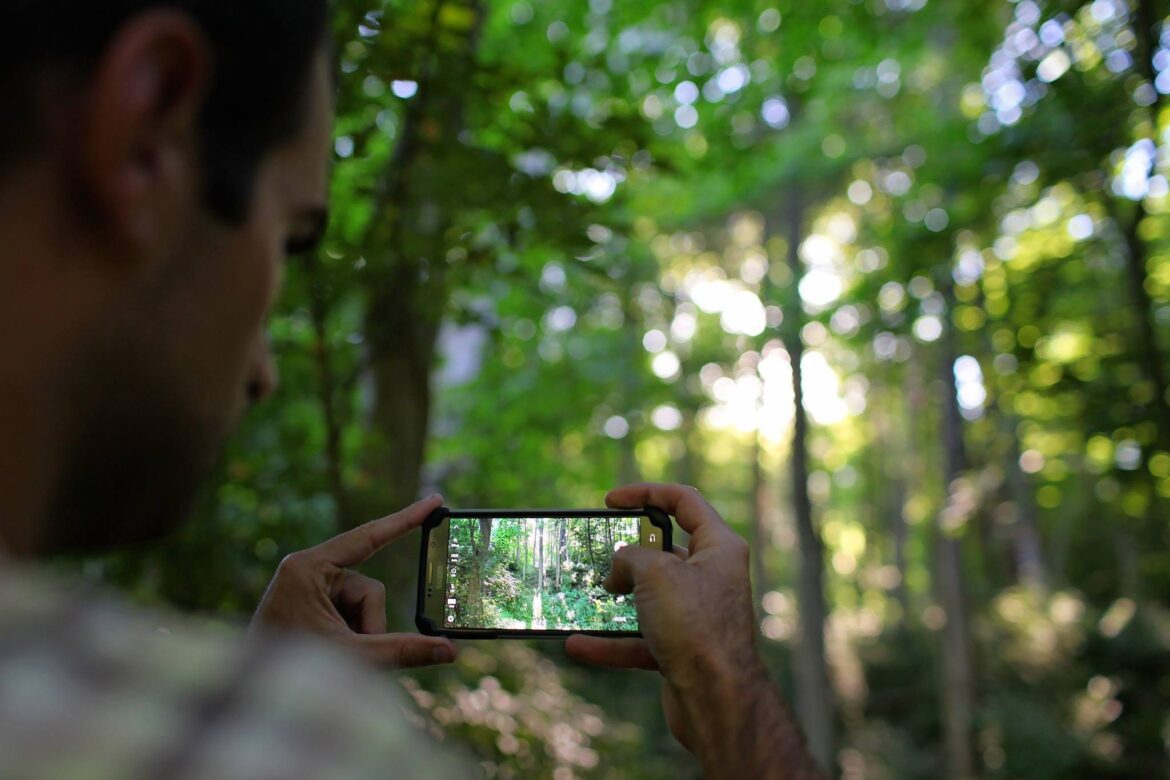
Do you ever wonder how some people take such beautiful pictures with their iPhone? With the advancement of technology in recent years, iPhones can now take high-quality photos and videos. But it takes more than just a few swipes and taps to get that perfect shot. In this article, we will explore how you can take amazing pictures with your iPhone. From considerations for lightening and composition, to camera settings and accessories, learn everything you need to know about becoming an iPhone photography pro.
Taking Pictures with the Camera App

The iPhone’s built-in Camera app is a great way to take photos. Here are some tips for taking pictures with the Camera app:
– Use the timer to take pictures of yourself or group shots.
– Use burst mode to take multiple pictures in quick succession. This is perfect for action shots.
– Use the HDR (High Dynamic Range) setting to take better pictures in low light or backlit situations.
– Use portrait mode on newer iPhones to get a shallow depth of field effect, making your subject stand out from the background.
– Experiment with the different filters to find one that you like.
Editing Your Photos
Editing your photos is an important part of the photography process, and it can be a lot of fun! There are a ton of photo editing apps available for iPhone, and they all have different features. Some apps are better for basic edits like cropping and straightening, while others have more advanced features like filters and effects.
One of our favorite editing apps is Snapseed, which has a wide range of editing tools and filters. If you’re looking for something simpler, try PicMonkey or Aviary. And if you want to get really creative, check out Photoshop Express or TouchRetouch.
Once you’ve edited your photo, it’s time to share it with the world! You can post it on social media, send it to a friend, or even print it out.
Using Third-Party Apps

There are many different ways to take pictures with your iPhone. One popular way is to use third-party apps. These apps can provide you with more options and flexibility when taking pictures.
When using a third-party app, it is important to make sure that you have the latest version installed. This will ensure that you have all of the latest features and bug fixes.
It is also important to read the reviews of an app before using it. This way, you can see what other users think about the app and if there are any common issues.
Once you have found an app that you want to use, simply launch it and follow the instructions. Most apps will allow you to take pictures directly from within the app. However, some may require you to import your photos into the app before you can edit them.
Printing Your Photos
Assuming you have already taken the photo you want to print with your iPhone, open the Photos app and select the image. Then, tap the Share icon in the lower left corner.
In the Share menu, scroll down and select Print. You’ll be taken to a new screen with your image and some printing options at the bottom.
Tap on Select Printer to choose which printer you want to use. If you don’t see your printer listed, make sure it’s turned on and connected to the same Wi-Fi network as your iPhone.
Once you’ve selected a printer, tap on the number of copies you want to print and then tap Print in the upper right corner. Your image will start printing!
Tips for Taking Better iPhone Photos
1. Use the native camera app – The native camera app that comes installed on your iPhone is actually pretty good! It has all the basic features you need to take quality photos.
2. Get close to your subject – When taking photos with your iPhone, it’s important to get close to your subject. This will help you avoid pixelation and blurriness.
3. Use the volume buttons to snap pictures – The volume buttons on your iPhone can be used as a shutter button! This can be really helpful if you’re trying to take a picture of something in low light or from a distance.
4. Take advantage of the built-in flash – If you’re in a situation where there’s not enough light, don’t be afraid to use the built-in flash on your iPhone. It can help you take better photos in low-light situations.
5. Edit your photos afterwards – After you’ve taken a photo, it’s always a good idea to edit it afterwards. There are tons of great photo editing apps out there that can help you make your photos look even better.
Last Shutter Thoughts
Taking pictures with your iPhone does not have to be intimidating or hard. All you need are a few tips and techniques and you can quickly turn into an amateur photographer taking amazing shots. We hope that this article has given you some ideas on how to get the most out of your device camera, from settings to lighting set up, so that you can capture beautiful moments in time whenever the opportunity arises. So take out your phone and start shooting!
Please leave your comments below and I will happily reply to them.
Like always shutterbugs stay curious and salty.

