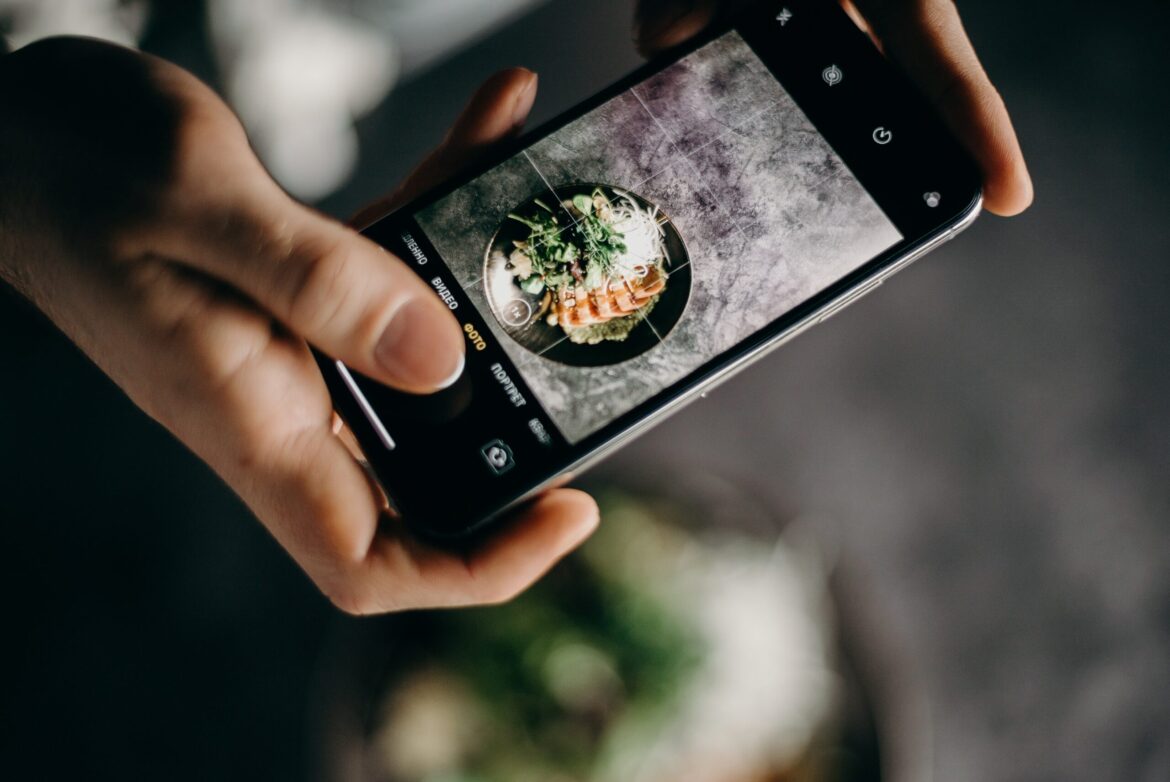
How to Take Professional Pictures with an iPhone Camera
With the incredible advancements in technology, anyone can now take amazing photos with just a smartphone. Gone are the days of carrying around expensive cameras and bulky equipment. Today’s smartphones can take high-quality photos with just the press of a button. Whether you’re an aspiring photographer or someone who just wants to take professional-level pictures, there are a few key tips that will help you get the most out of your iPhone camera. From choosing the right lens to using lighting and composition techniques, read on for our guide on how to take professional pictures with your phone.
The Different iPhone Camera Modes
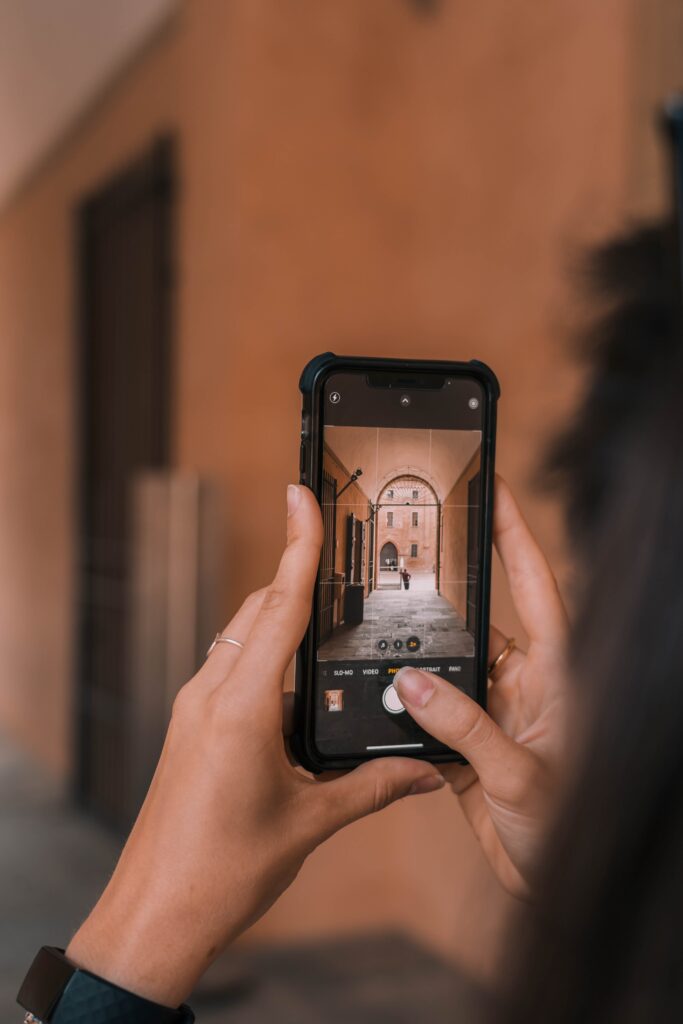
There are a number of different iPhone camera modes that can be used to take professional-looking photos. The first is the Portrait mode, which is perfect for taking photos of people. This mode blurs the background and makes the subject stand out.
The next mode is Panorama, which is great for taking wide shots of landscapes or groups of people. This mode stitches together multiple photos to create one panoramic image.
Slo-mo is another useful mode for taking professional-looking photos. This mode captures video at a high frame rate, allowing you to slow down the action and capture incredible detail.
Finally, Time Lapse is a fun mode that can be used to capture time-lapse videos of things like sunsets or cityscapes. This mode automatically takes a photo every few seconds and stitches them together into a video.
Tips for Taking Professional-Looking Pictures
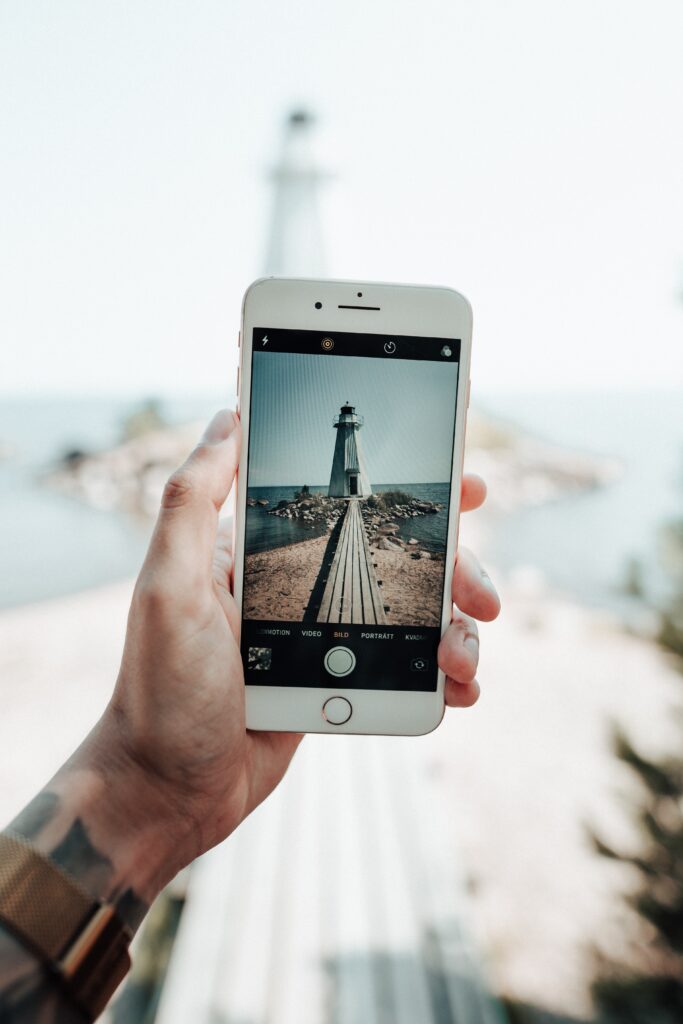
There are a number of ways to take professional-looking pictures with an iPhone camera. Here are some tips:
1. Use the right lens: The iPhone has a number of built-in lenses, including a wide-angle lens and a telephoto lens. Using the right lens for the scene will help you get the best results.
2. Use portrait mode: Portrait mode is ideal for taking photos of people or objects. It blurs the background and makes the subject stand out.
3. Use HDR: HDR (High Dynamic Range) mode helps to capture more detail in both highlights and shadows. This can be especially useful in outdoor scenes with strong contrast between light and dark areas.
4. Use Panorama: Panorama mode lets you stitch together multiple images to create one wide shot. This is great for landscapes or large group photos.
5. Use burst mode: Burst mode takes a rapid succession of photos, which can be helpful when trying to capture fast-moving subjects like animals or athletes in action.
Editing Your iPhone Photos
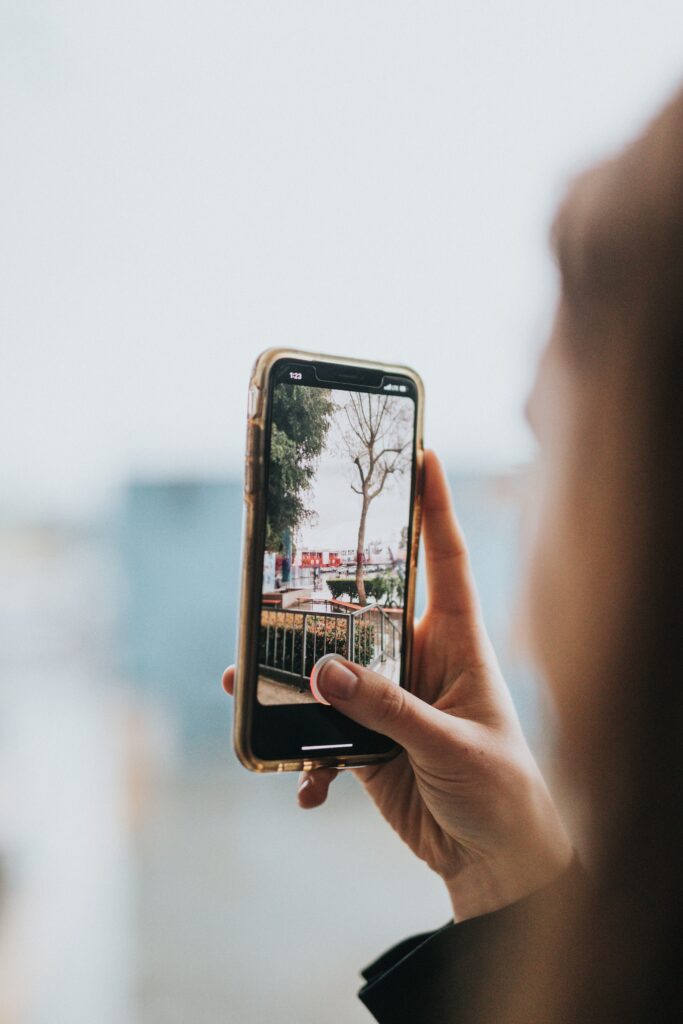
Assuming you’re already happy with the picture you’ve taken, it’s time to start editing! The iPhone’s native editing tools are actually pretty good, and can help you touch up your photos to make them look even better.
To edit a photo on your iPhone, simply open it in the Photos app and tap on the edit button in the top right corner. From here, you can use the various editing tools to adjust things like brightness, contrast, saturation, sharpness, and more. You can also crop and rotate your photo, and even remove red-eye.
When you’re finished making your edits, simply tap on the done button in the top right corner to save your changes.
Apps to Help You Take Better iPhone Photos
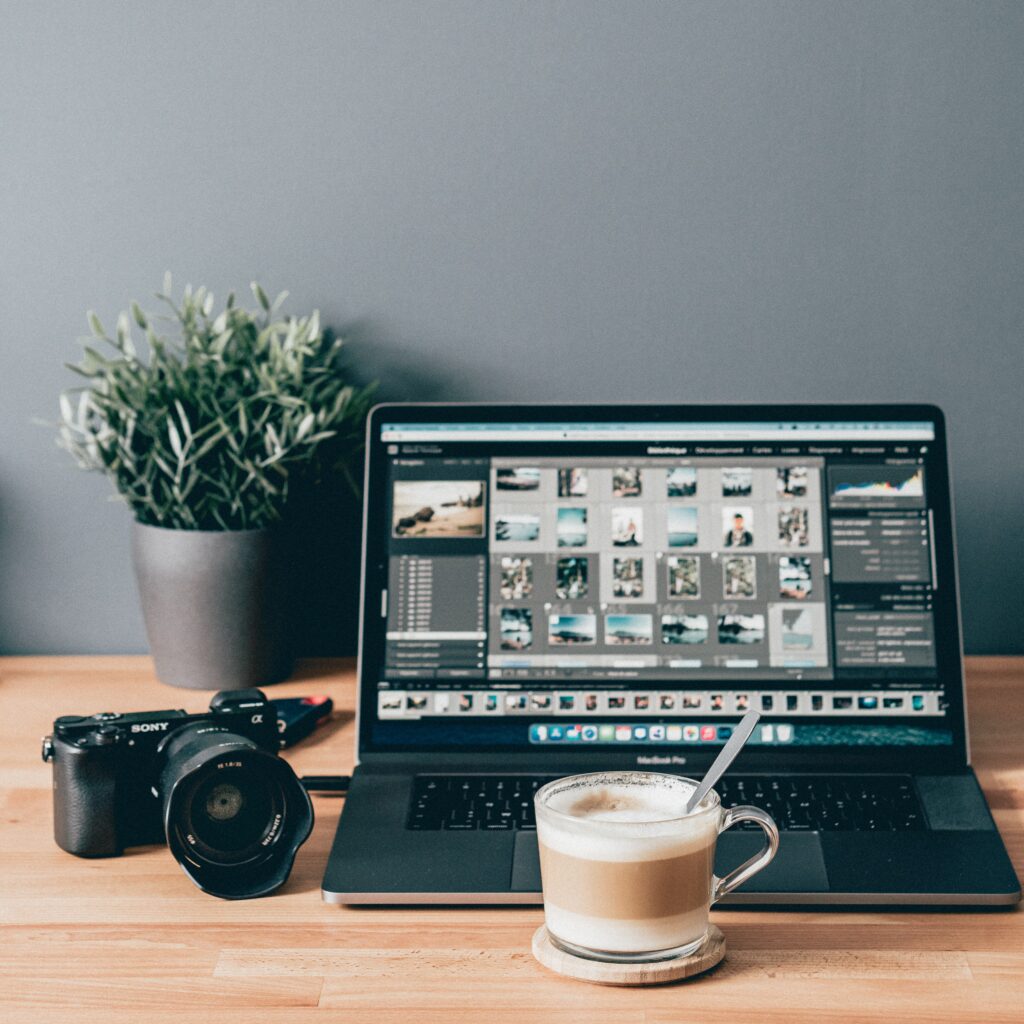
Adobe Lightroom one of my favourite apps to edit my images on my MacBook or on my phone on the go.
There are a number of apps available that can help you take better photos with your iPhone camera. Here are some of our favorites:
1. Camera+: This app offers a number of features to help you get the most out of your iPhone camera, including a stabilizer, timers, and burst mode.
2. ProCamera: This app is aimed at more serious photographers and offers a range of advanced features, such as RAW support and manual controls.
3. Manual: This app gives you full manual control over your iPhone camera, letting you adjust settings like ISO, shutter speed, and white balance.
4. Camera Awesome: This app provides a range of fun and easy-to-use filters and effects that can help make your photos look even more amazing.
5. Afterlight: This app is perfect for those who want to edit their photos after they’ve been taken. It offers a wide range of tools for adjusting exposure, color, and more.
6. One of my favourite apps to edit my images on the go is Adobe Lightroom. Its priced reasonable and provides cloud storage. This is my opinion and I’m not getting any form of compensation from the company.
Last Shutter Thoughts
Taking professional pictures does not require a special or expensive camera. With the help of this article, you should now understand how to take high-quality photos with your iPhone cameras. Remember that lighting, composition and editing are key when it comes to taking great pictures. Have fun experimenting with different angles, filters and lenses and you’ll be sure to get some beautiful results!
Please leave your comments below and I will happily reply to them.
Like always shutterbugs stay curious and salty.

